A guide to getting your app published on the Google Play Store
A guide to getting your app published on the Google Play Store
How do I publish an app to the Google Play Store?
To publish an app to the Google Play Store, you'll need to first set up Google Play store Developer Account, then prepare your app for submission (including app signing and beta testing), optimize it with App Store Optimization (ASO) in mind, and finally, educate yourself on generally mastering the app approval process.
After you take the important step to convert a website into an app, you can now publish your hybrid/web+mobile Android app and see it potentially rank in the Google Play Store, alongside the biggest and brightest competitors in your business. Below, you'll find a step-by-step guide to help you navigate the key steps that will help you make that possible!
Looking for a simple guide to help you publish an app to Google Play? Look no further.
Publishing to the Google Play Store is the best way for users to find, download, and update your Android app safely and easily.
Given Google’s commitment to delivering a consistent, high-quality user experience, it’s not surprising that there are a number of requirements for apps to be approved within the Play Store. Here’s a quick overview of what we cover in this guide to publishing your app to the Google Play Store:
- How to publish an app to the Google Play Store -- General rules: An introductory section that outlines the importance of adhering to Google’s guidelines and best practices throughout the development process.
- How to create a Google Play Store developer account + other key steps: A step-by-step guide on how to get set up with the account process.
- Key steps to prepare your app for submission: A detailed overview of the most important steps, and how to navigate them, including app signing, metadata prep and beta testing.
- How to optimize your app for the Play Store: Strategies for improving your app’s discoverability and conversion through effective App Store Optimization (ASO).
- Mastering the app review and approval process: Guidance on how to navigate the process, address feedback, and ensure a smooth approval.
Want the full scoop on how to publish an app to the Google Play Store? Keep reading!
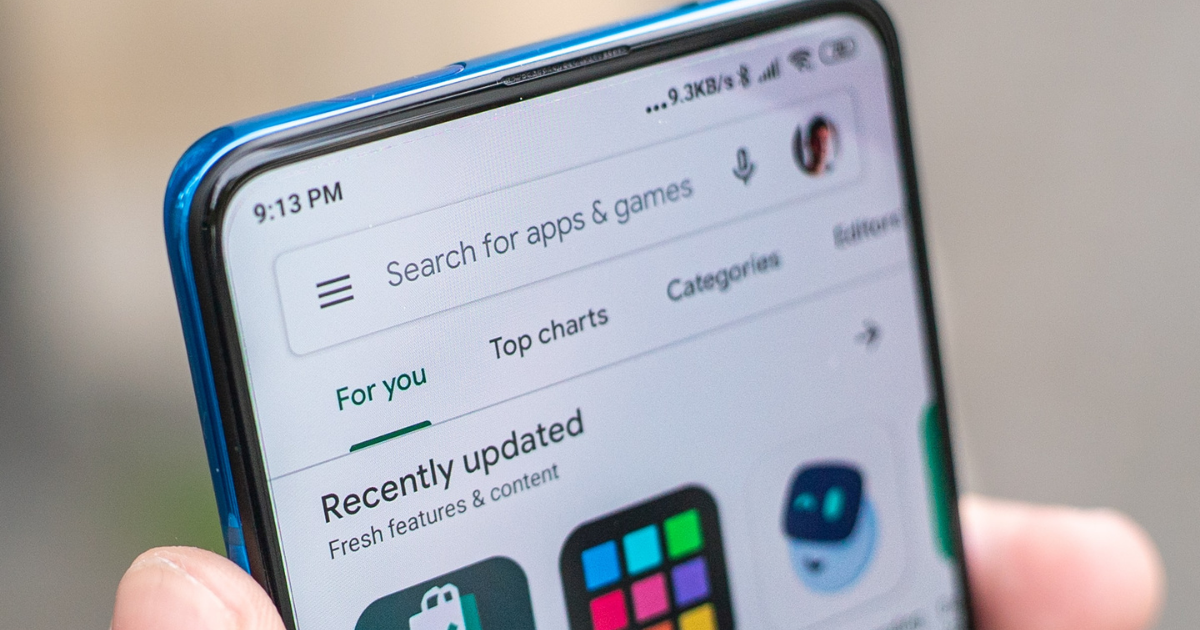
Why publish to the Google Play Store?
Publishing to the Google Play Store, as well the Apple App Store, only serves to increase the discoverability of your app. By creating an android app, you're unlocking a vast and new audience to connect with. But, since the app marketplace is crowded with competitors, it is important to take all the required steps to ensure the successful publishing of your app, as well as its ongoing growth and success.
Tip: Prior to getting started, it’s important to review Google’s full list of content policies for apps listed in their store and make any necessary changes to ensure your app is 100% compliant.
What kinds of apps does Google Play reject?
Google will restrict specific types of content within apps. If your app is subject to external regulation (e.g., financial services), you'll need to comply with applicable local regulations and provide documentation. If your app includes user generated content, you'll need to demonstrate that you have adequate moderation policies and procedures in place to remove objectionable content.

Google will not approve apps for the Play Store that encourage or induce infringement of intellectual property rights. You should not rely on misleading, unauthorized, or unfair use of other people’s work. If you are using intellectual property from another party, you may be asked to provide a licensing agreement to verify permissions.
Google strictly prohibits apps that are deceptive, malicious, or intended to abuse or misuse any network, device, or personal data. Additionally, apps that contain Malware are strictly prohibited from Google Play, given how harmful it can be to users.
While Google does support a number of app monetization strategies, it’s important to review their monetization guidelines to ensure your app is compliant and published without issue.
Apps that spam users are strictly prohibited in the Google Play Store. These can include apps that send unsolicited messages, apps that are highly repetitive, and apps that are low-quality. The commitment to barring these types of apps is part of Google’s broader initiative to ensure a “minimum functionality” of all the apps available in the Play Store.
Google puts a premium on app performance, design and end user utility. By adhering to these core standards, developers can ensure that their apps are elevated beyond a mobile site or repackaged website. Ultimately, Google reinforces the need for developers to create apps that are stable, engaging, responsive and that deliver an excellent user experience. Google will reject apps that:
- Are designed to do nothing or have no function
- Crash, force close, freeze, or otherwise function abnormally
- Don’t install; do install but don’t load
- Load but are not responsive
- Merely provide the same experience as other apps already on Google Play
- Are designed solely for displaying ads
- Solely exist to drive affiliate traffic
How do I successfully publish my app in the Google Play Store? General rules
When it comes to building a high-quality app or game, Google’s guidelines outline the most important components to keep in mind throughout the development process, including content, user experience and technical performance. Whether you're publishing a webview app, native app, or hybrid app to the Google Play Store, keeping Google's guidelines top of mind will ensure your success -- the first time.
At a high level, these guidelines recommend that you:
1. Use native app navigation
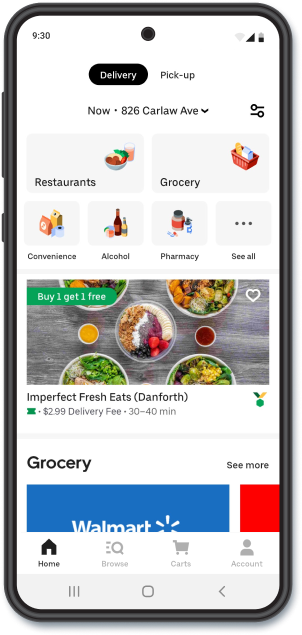
Adding a native sidebar menu and/or a bottom tab bar menu is an excellent way to create easy, intuitive navigation through your app. This article on best practices for app navigation and app UI will give you insight into *exactly* what you should include on this front.
2. Design a memorable, functional main page
Create an intuitive interface that supports Android visual design and interaction patterns, and optimize for performance, stability and compatibility to meet your user’s expectations.
3. Avoid footers
Apps shouldn’t contain footer text and menus!
4. Use logos that are optimized for mobile
If you want to show your logo on every page, contain it to an area as opposed to letting it consume the entire screen.
5. Use forms that are optimized for mobile
Ensure that forms are scaled large enough so that users can easily complete them on their mobile devices.
6. Nurture the community you’re in
Connecting users and driving deeper engagement will provide a richer experience and make users more likely to stay connected long-term. Release regular app updates and content refreshes to drive engagement and stay top-of-mind.
7. Build – and maintain – trust
Ensure your app has a robust privacy policy, and that you are protecting your users’ personal information. Be transparent in your communication and responsiveness with users and address concerns promptly. This will show your users that you value their feedback and appreciate their support and loyalty.
In addition to following the Play Store guidelines, you’ll also want to think about how you plan to monetize your app. Will you offer it for free and rely on in-app purchases or ads, or will you charge a download fee? Consider your target audience and what you think they would be willing to pay for.
8. Test, test, test
It’s crucial to rigorously test your app to ensure that it both meets Google’s minimum functionality requirements and delivers a seamless, intuitive user experience. While you are of course looking for crashes and bugs, you are also testing to ensure your app functions “like an app”. Put yourself in the shoes of the end user:
- Is the app easy to navigate?
- Is it useful?
- Does it have a seamless, UI-friendly design?
After you have set up your developer account and can access Google Play Console using the instructions below, you’ll have the ability to share app bundles and APKs with a small group of up to 100 testers for initial testing and quality assurance. Once you have set up your App content and store listing, you’ll also have the ability to run the following tests:
- Closed testing: Get early feedback on new or updated builds of your app from a wider set of trusted testers
- Open testing: Gather private feedback from a large group by surfacing your app's test version on Google Play
At this point, it’s time to ensure you have all the necessary profiles and accounts set up and prepare for submission.
Steps: How to publish an app (successfully) to Google Play
The first step to getting your native app or webview app (or find a good hybrid app example here) in the Google Play Store is creating your Google Play Developer Account, which allows access to the Google Developer Console – the platform you’ll use to manage your app submission and testing, monitor performance, and interact with users. Setting up an account is straightforward, and involves creating a traditional Google account (if you don’t already have one), paying a registration fee, and agreeing to the Google Play Developer Distribution Agreement.
1. Set up a Developer Account
Your Developer Account must be created and compliant before you can submit your app for review and publish on the Google Play Store. If you’re creating an app for an organization or a business, you must be able to submit:
- Public developer name
- Contact name
- Contact email address (must be verified)
- Contact phone number (must be verified)
- Organization name, address, phone number and website
- If you plan on releasing a paid app or use in-app purchases, you will also need to set up a Payment Profile
If you are looking to set up your Google Developer Account, click here to get started.
2. Get to know the Google Play Console dashboard
With your developer account set up, you’ll have access to your Google Play Console dashboard — a central hub where you can upload, test, submit and manage your Android apps. The first step in uploading your app to Google Play Console is creating a new app. To create a new app, navigate to All apps>Create app and fill in the basic information about your application.
- App Name
- Default Language
- App or Game
- Free or Paid
You will have the opportunity to change or edit these attributes later when you are reviewing/creating your store listing.
You will now need to create your Android Package Name. Your app’s Android Package Name is a unique text identifier for your app that is registered with Google. It is only visible to users in your app's Google Play Store URL and cannot be changed once your app is published.
Google recommends you follow the reverse domain name notion, e.g. com.yourdomain.app. Note that dashes or spaces are not allowed. You cannot start any section of the package name with a number.
With the basic information about your app filled in, you can now upload your app file to Google Play Console. Here is some key information you should know during this process.
An Android App Bundle (AAB) is a publishing file format that includes all your app’s compiled code and resources, and defers APK generation and app signing to Google Play. As of August 21, 2021, all new Android apps submitted to the Google Play Store must be AAB files.
Code signing an app is a way of verifying its authenticity. All Android apps are signed with a private key to ensure that your app’s code has not been altered since it was signed. Google has its own app signing infrastructure known as Play App Signing. To upload an Android App Bundle to your Google Play Console, you must enroll in and use Play App Signing.
With Play App Signing, Google generates an app signing key for your app when you upload it to the Google Play Console. Google will also manage and protect your app's signing key for you and use it to sign optimized, distribution APKs that are generated from your app bundles.
3. Upload Keys
For extra security, Google recommends generating a separate upload key and signing your app with that upload key before uploading it to the Google Play Console and proceeding with submission. If you decide not to create and sign your app with an upload key, you will continue to use your app signing key as your upload key to sign each subsequent release/update of your app. While this is acceptable, it’s highly advisable to keep your upload key and app signing key distinct from one another.
Once you have downloaded the Android App Bundle file from your app management page, it’s time to upload the file to your Google Play Console. From the Play Console homepage, follow these instructions:
- Step #1: Go to Release > Production > Countries/Regions to set app availability
- Step #2: Next, navigate to Release > Production > Releases > Create New Release
- Step #3: Under the Play App Signing heading, click Continue
- Step #4: Under App Bundles, click Upload and select the AAB file you wish to upload
- Step #5: With your AAB uploaded, it’s time to complete your app content and metadata
4. Set up your store listing and settings
With your AAB file successfully uploaded, it’s now time to navigate back to the Play Console homepage to fill out necessary information about your app. You will need to provide detailed metadata and content information about your app before submitting it for review. This is done in two parts:
- App Content Information
- Your Google Play Store Listing
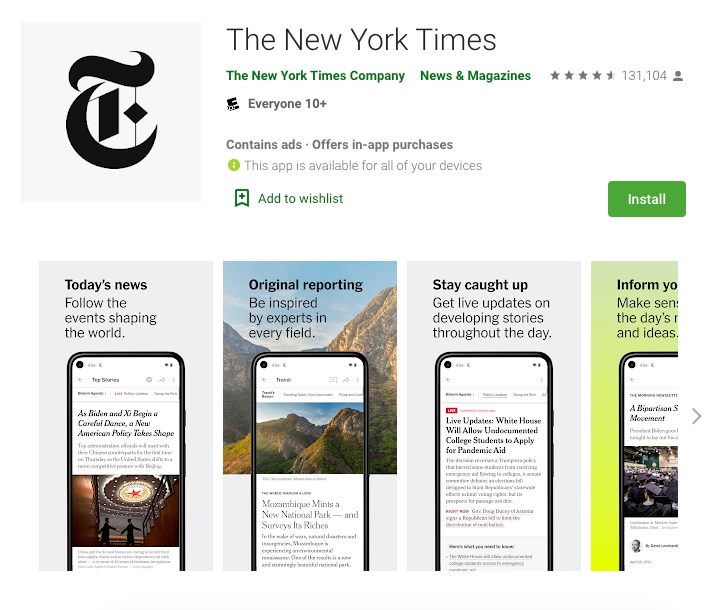
Creating a compelling Google Play Store listing is essential to attract and engage potential users. Start by crafting a concise and relevant title that reflects the core functionality of your app. Write a clear and engaging description, highlighting the key features and benefits that make your app unique. Use high-quality app screenshots and graphics to visually showcase your app’s design and functionality.
Ensure your app’s metadata, including categories and keywords, are optimized for App Store Optimization (ASO) to improve your app’s visibility in search results. Set the right pricing strategy, considering whether your app will be free, paid or offer in-app purchases.
As you complete the information fields, keep the following guidelines in mind:
- Be transparent: Don’t include any hidden or dormant features in your app or omit features in your metadata
- Be honest: Don’t promote or include descriptions of features that your app doesn’t offer
- Be accurate: Select accurate and appropriate search keywords, tags, categories and age ratings for your app
- Show your app: Screenshots and previews should show the app in-use, not only artwork or brand images
You can find these fields in the App Content section of your Google Play Console dashboard. You do not need to fill out this information in any particular order, however, it must be completed fully in order to proceed to app review.
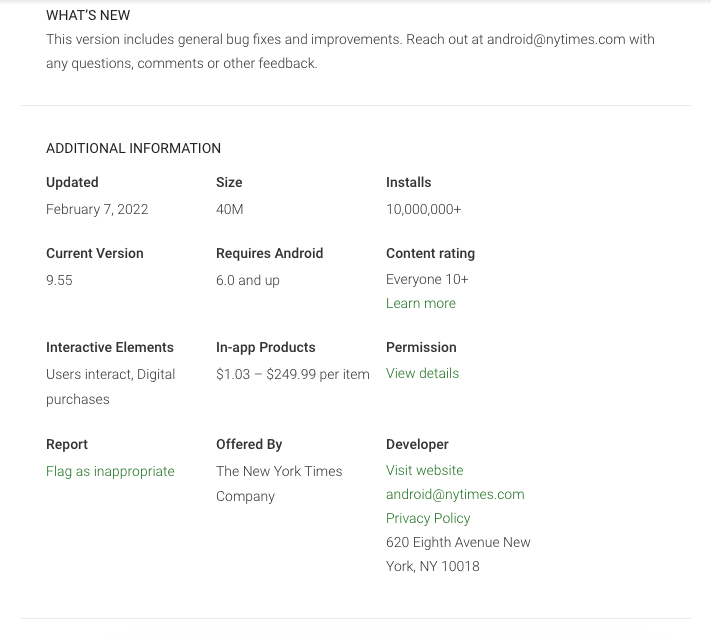
- App access: Information needed to access your app if certain parts or sections are restricted or password protected. Google will need this information to review your app
- Content ratings: You will fill out a questionnaire and receive a content rating from an authorized rating authority
- Target audience: Fill out relevant information about your app and the intended audience (including age group)
- News apps: Indicate whether your app is a news app or not. If yes, you will need to fill out additional info in this section
- Ads: You must indicate whether your app will contain ads
- Privacy policy: Indicates how your app will treat and handle sensitive user data and information
You will need to provide detailed metadata and content information about your app before submitting it for review. This is done on your Google Play Console dashboard under Store Presence > Store Settings. Simply follow the information fields and fill out the metadata as accurately as possible. It’s important to include quality descriptions, screenshots, previews, categorizations, etc., that accurately reflect the core experience of the app.
Now that you have set up your app and completed the content and metadata information, you can submit your app for review.
- Step #1: Enter Your New App Release by clicking Release > Production > Edit Release
- Step #2: With your app bundle uploaded, click Review Release
- Step #3: Once reviewed thoroughly, click Start Rollout to Production
Note: If you are releasing an update you can choose to rollout to all users immediately or to stage the rollout to users over time. Click here to learn more about releasing an app update.
5. Prepare your app for review
Preparing your app for review is a critical step to ensure it meets platform guidelines and offers a seamless user experience.
Start by thoroughly testing your app on various devices and Android versions to identify and fix any bugs or issues. Ensure that your app complies with Google Play Store guidelines, including content policies and app functionality requirements and provide all the required information, like your app’s Privacy Policy, declaration on ads, and details about your app’s access. Optimize your app’s performance and minimize its size for faster downloads and ensure your app’s metadata is complete, including title, description, screenshots, and keywords.
Beta testing – or Closed Testing – your app is highly recommended at this point because it allows your app to gather feedback and identify potential improvements before you formally submit it for review.
6. Create a release
After uploading your app to the Google Play Console, you can monitor its status across various stages, known as tracks, including draft, testing and production. The review process dictates your app’s track.
For instance, your app remains in the “testing” track until it is approved by the Google Play Console. This is also knows as the Open Testing phase, which allows you to test with a large group of users via your app’s test version on Google Play. To publish a draft of your app, you’ll need to initiate a release rollout.
Once your app is approved, you can transition to the production track, making it publicly available. Following this, you’ll want to regularly update your app to maintain its relevance, performance, and user satisfaction. Monitoring user feedback and app performance metrics helps to identify areas for improvement and inform future updates.
Sidebar: How do you optimize your app for the Google Play Store?
Once that your app is available to users, you want to ensure they can easily find it by optimizing titles, descriptions, promo text, supporting graphics, and accessibility. Optimizing your app listing with App Store Optimization (ASO) in mind for the Play Store will drive downloads and attracting users. Here are a few tactics to help up your ASO:
Title: Keep your app title to a maximum of 30 characters. Incorporate keywords that are highly relevant to your app.
Description: This is the text that appears under your screenshots on your app page and should not exceed 80 characters. Keep conversion in mind when writing your short description.
Promo Text: This is space for a longer description – and your chance to convince users to download your app. Repeat high priority keywords but avoid keyword stuffing as Google penalizes this practice. Aim for a keyword density between 1% to 2%.
Screenshots, graphics and Image Assets: Present your app’s most importance features with high-quality preview images and a unique selling proposition. Your App Icon will be visible everywhere, so use it to convert users. Consider your brand identity and how your design choices reinforce your app’s purpose.
Equitable Access: Ensure your app is accessible to all users, regardless of their abilities or disabilities. Give easy-to-understand details and make sure your app can be used by people from different places, not just by translating words, but by making it work well for them, too.
It's also a good idea to think of the broader marketing outreach for your app (and doing this well in advance). Why? A go-to-market app strategy is key to ensuring you're effectively and continually reaching new audiences on the right channel.
What is the Google Play review time in 2023?
The review and approval process typically takes 1-3 days to complete (although some reviews may take longer), during which time your app is thoroughly reviewed against the Play Store guidelines. It’s important to monitor the status of your app’s review from the Google Developer Console during this time. You can learn more about the different statuses your app may encounter during the review process: Click here for the different situations.
How long does Google Play app testing take in 2023?
It depends but the process takes much longer if you have a non-business developer account. If you have a personal Play Console developer account, Google Play now requires that you test your app with a minimum of 20 people, and for a period of at least two weeks, before you can apply for the release of your app in the public listings of the Play Store. Learn more about the Play Stores more rigorous testing rules here.
Submitting your app for review in the Google Play Store
Congratulations! You have successfully submitted your app for review.
If you’re looking for more support as you try to get your Android App published on the Google Play Store, try Median. Our highly intuitive online app builder makes it easy to convert your existing website or web-based application into an immersive, visually stunning native Android and iOS app.
Median also provides end-to-end app publishing services. Since 2014, we’ve helped our customers by publishing over 3,500 apps with a 97% approval rate to the Google Play Store and Apple App Store. Our team manages the publishing process from start to finish, ensuring compliance with app store guidelines, and seeing that your app is approved and available for download as quickly as possible.

to top


.webp)
